Youthful Glow: Mastering Gua Sha Techniques
Unleashing the Power of Gua Sha
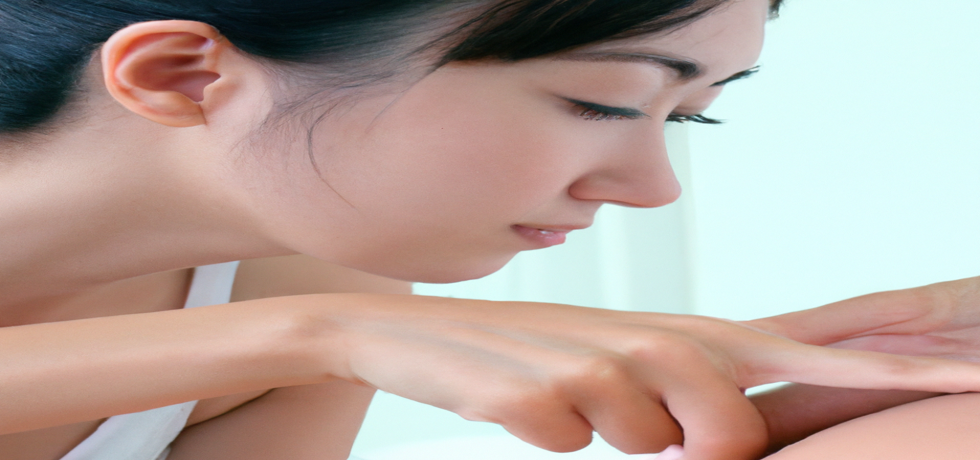
Getting Started: What You Need
Before diving into specific techniques, its important to gather your tools. Youll need a Gua Sha tool, preferably made of jade or rose quartz, and a good facial oil or serum to ensure that the tool glides smoothly across your skin. This preparation is key for maximizing the benefits of your Gua Sha practice.
Steps to Prepare for Gua Sha
Start by cleansing your face thoroughly to remove any dirt, oils, or makeup. Once cleaned, apply a generous amount of facial oil or serum to your face and neck. The oil provides the necessary slip for the tool, preventing any tugging or pulling on your skin. With your skin prepped, you’re ready to begin mastering Gua Sha techniques.
Key Gua Sha Techniques for Different Areas
Reducing Smile Lines
For nasolabial folds, use the flat edge of your Gua Sha tool and start at the corners of your mouth, gliding gently upward towards your ears. Repeat this motion 5-10 times on each side to visibly reduce fine lines.
Sculpting the Jawline
To address a double chin, take the curved edge of the tool and begin at the center of your chin. Glide along your jawline toward your ears, repeating this motion 5-10 times to enhance your facial contours.
Minimizing Forehead Lines
For forehead lines, use the flat side of the tool, gliding from the center of your forehead towards your temples. This technique helps in reducing the appearance of wrinkles, contributing to a youthful glow.
Targeting Crows Feet
The delicate area around your eyes requires gentle treatment. Use the pointed end of the Gua Sha tool from the outer corner of your eyes towards your hairline. A few repetitions will aid in reducing the fine lines that often appear here.
Reducing Puffiness
If you have puffiness around your nose, use the flat edge and glide from the bridge of your nose down along the sides. This technique not only decreases puffiness but also promotes better circulation, leading to beautifully revitalized skin.
Post-Gua Sha Care
After finishing your Gua Sha session, its crucial to care for your tool by wiping it clean with a damp cloth. Following that, apply a hydrating moisturizer to lock in the benefits you’ve just created. Regularly incorporating Gua Sha techniques into your skincare routine can lead to long-lasting improvements in your skin’s appearance.
The Long-Term Benefits of Gua Sha
Mastering Gua Sha techniques can provide numerous benefits. From reducing fine lines and wrinkles to improving skin elasticity and contouring your face, this practice promotes a youthful glow that anyone can enjoy. Furthermore, it’s a wonderfully relaxing experience that helps to ease stress and tension, contributing to overall skin health.
Conclusion: Embrace Youthful Radiance
By mastering Gua Sha techniques, you’re embracing a natural, rejuvenating ritual that can transform your skincare routine. So, grab your Gua Sha tool, and start incorporating these practices into your daily regimen. Experience the joy of achieving vibrant, youthful skin and cultivate a radiant complexion that reflects your inner beauty.
For professional assistance and expert advice from leading dermatologists like Dr. Hital Patel, experience the benefits of mastering Gua Sha techniques with Hair & Skin Specialist Dr. Hital Patel at The Skin Artistry. Our clinics in PDPU Gandhinagar, Vastrapur Ahmedabad, and Hyderabad (Visiting Consultant) offer top-quality care and personalized treatments. Visit us today to learn more about our services and take advantage of our special offers! For more insights, updates, or to collaborate, stay connected with The Skin Artistry.
